|
Before we begin Windows......... |
You will see that the bus is now painted WHITE on the
inside. The paint is over DRYWALL! YES I said Drywall! I
know that the bus will twist and turn and I know that the drywall will
crack. However my plan was to WALLPAPER everything that was drywalled.
I figured that the 4 x 8 sheets of ply would not move if
properly fastened using many large head self taping screws. So we'll
see. |
|
I lost track of time and lost a few pics of the
drywalling process and so you will have to use your imagination assuming you
have one. If not well then there will be this huge void in the Bus
Story for you. Oh Well! |
If you should
decide to build your own coach and this void is a problem, you are welcome
to call and we can discuss it. I promise to do better at keeping
track of my pics. OK ? Enough said............................ Lets
move on! to WINDOWS ! |
|
We investigated all of the Window guys advertised on the
Web, the Bus Conversions Magazine and other Bus Web Sites. I even
considered Home Depot! I almost got away with the Home Depot windows
but Kathy figured out that I was looking for a inexpensive way around Window
costs. We decided on the Peninsula Glass Windows. Ouch! |
The Peninsula Glass windows are ......
Dark Gray, Tempered Safety Glass,
Thermopane Sliders
Bus Windows
www.PeninsulaGlass.com |
|
The 5 windows we purchased were roughly $2500.00
delivered to Auburn, Maine and the sizes were .....
2 each 60" Long x 32" Tall
2 each 48" Long x 32" Tall
1 each 34" Long x 32" Tall |
The windows
were designed and ordered to fit a wall depth of
2 3/8" Very Important to know the depth before
ordering.
This is how I installed them........
|
 |
Passenger side Front! This is
going to be a 60" x 32" Tall window installation. |
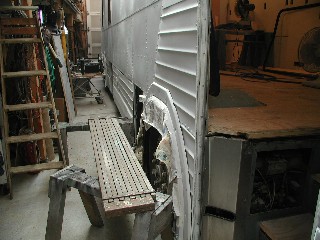 |
I setup some staging for
outside of the bus work. |
|
|
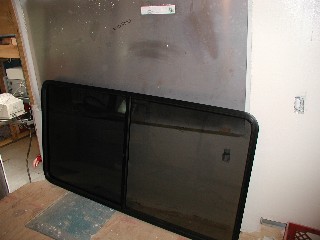
This is the window we will install. |
|
 |
I placed some wooden blocks
in the bottom of the windows rough opening where I will rest the window
exactly in the center of the opening. The blocks are cut to insure
that there is as much space at the top and here in the bottom. |
 |
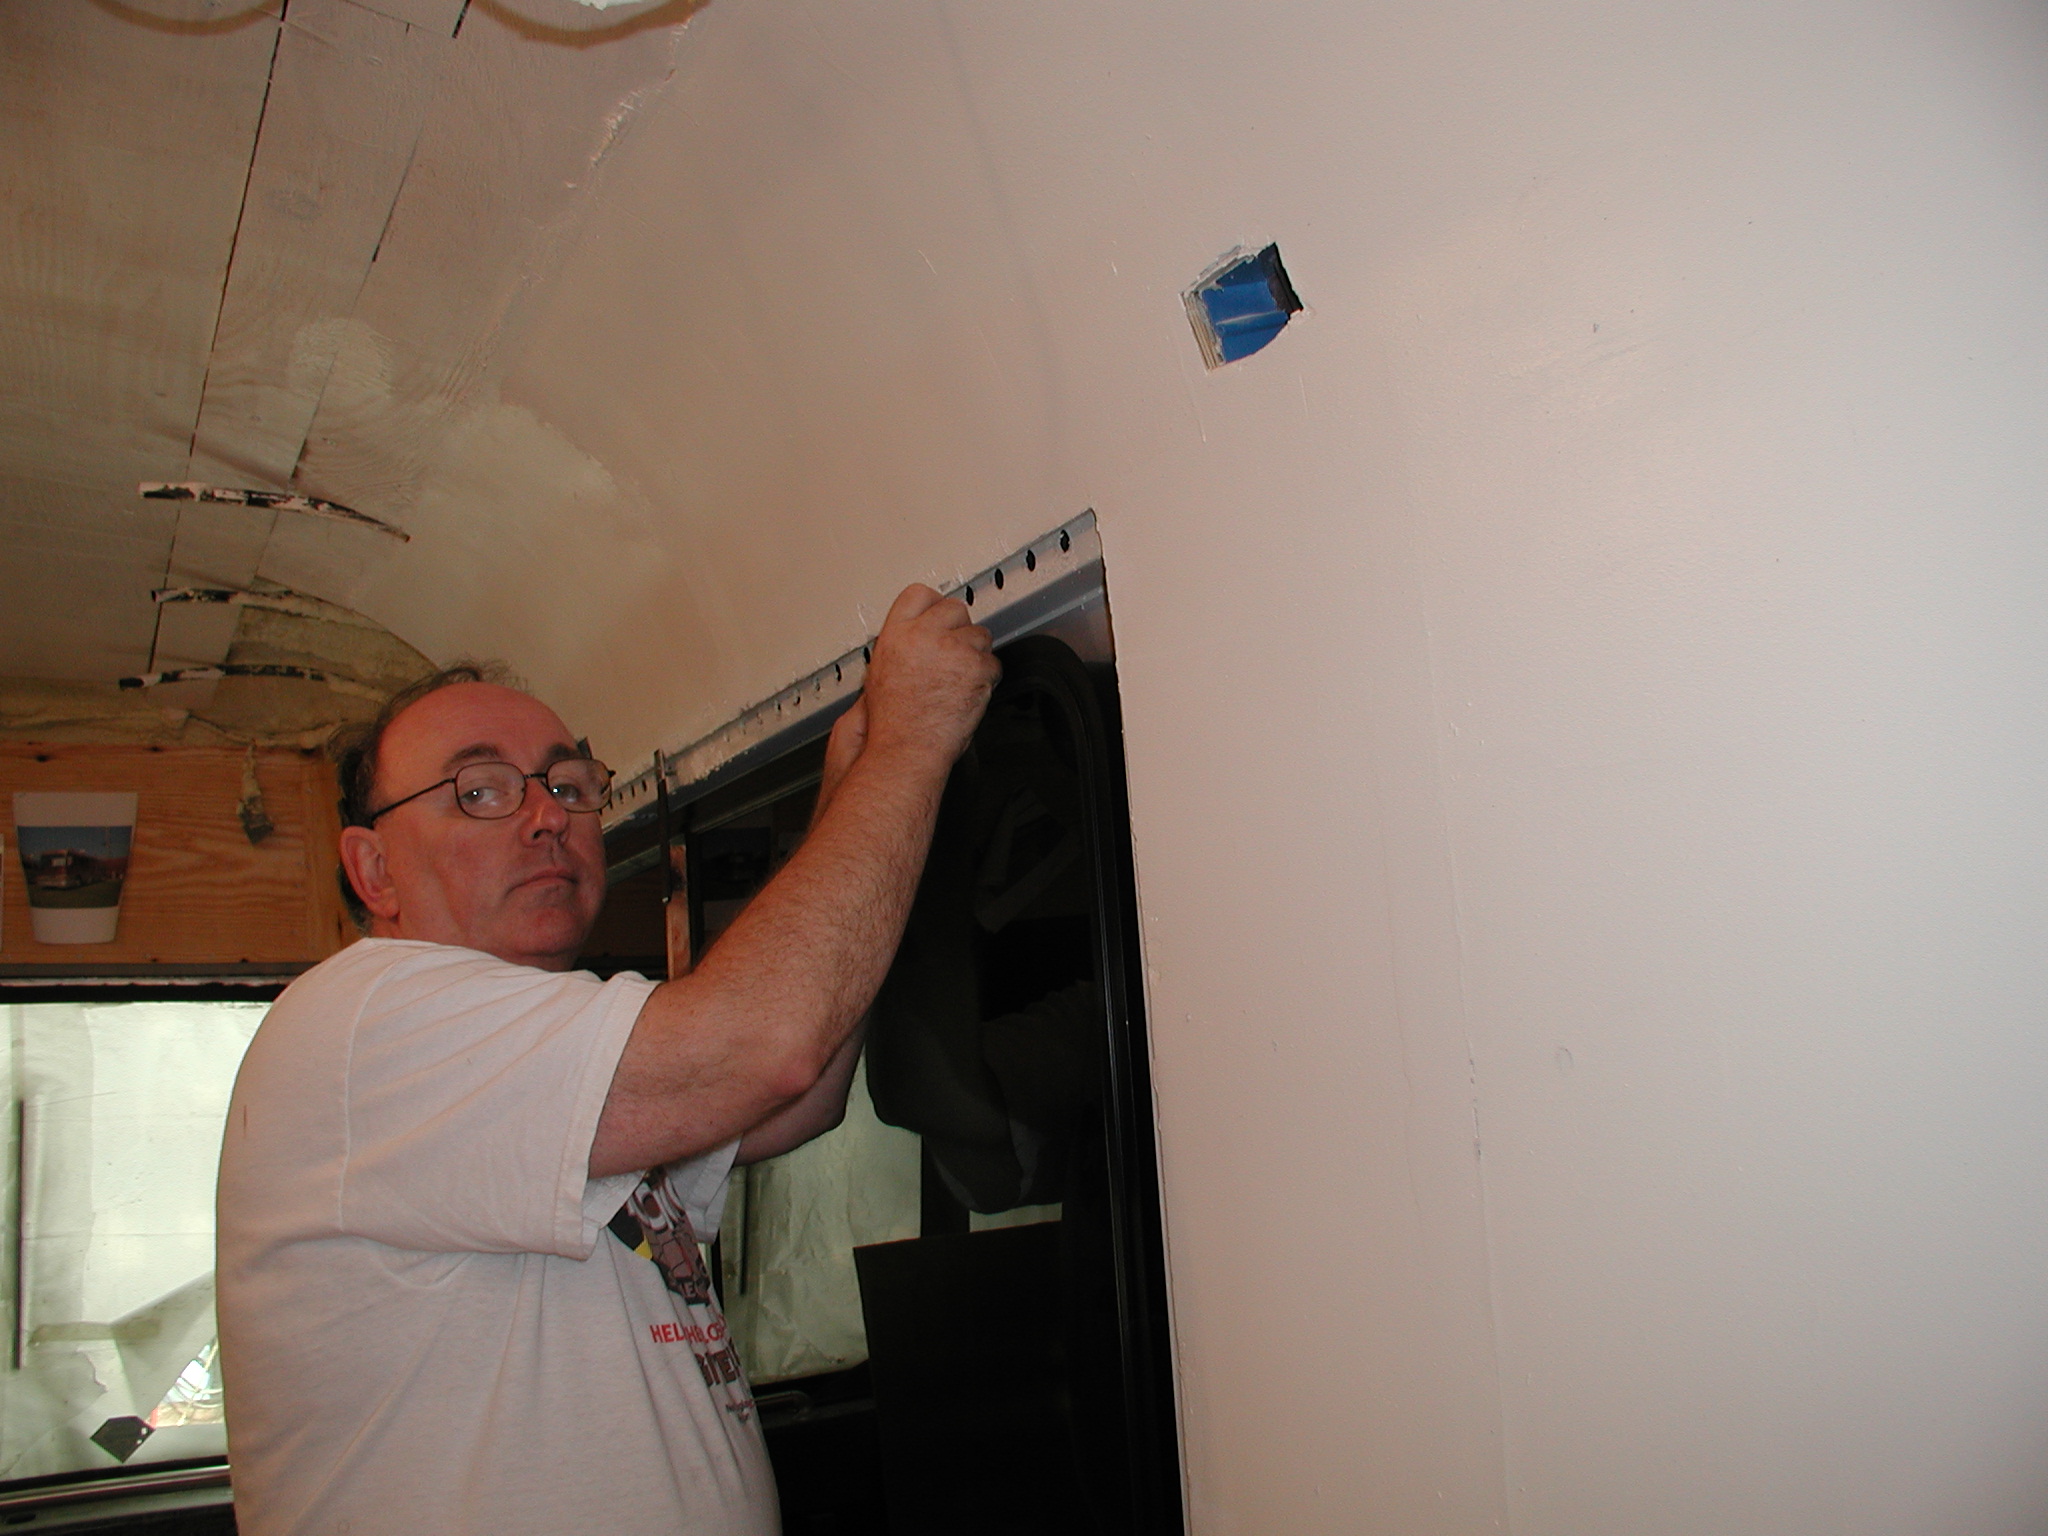
I set the window into the opening but backwards and held
it in place with a metal arm at the top while I trace the window frame to
the aluminum. |
 |
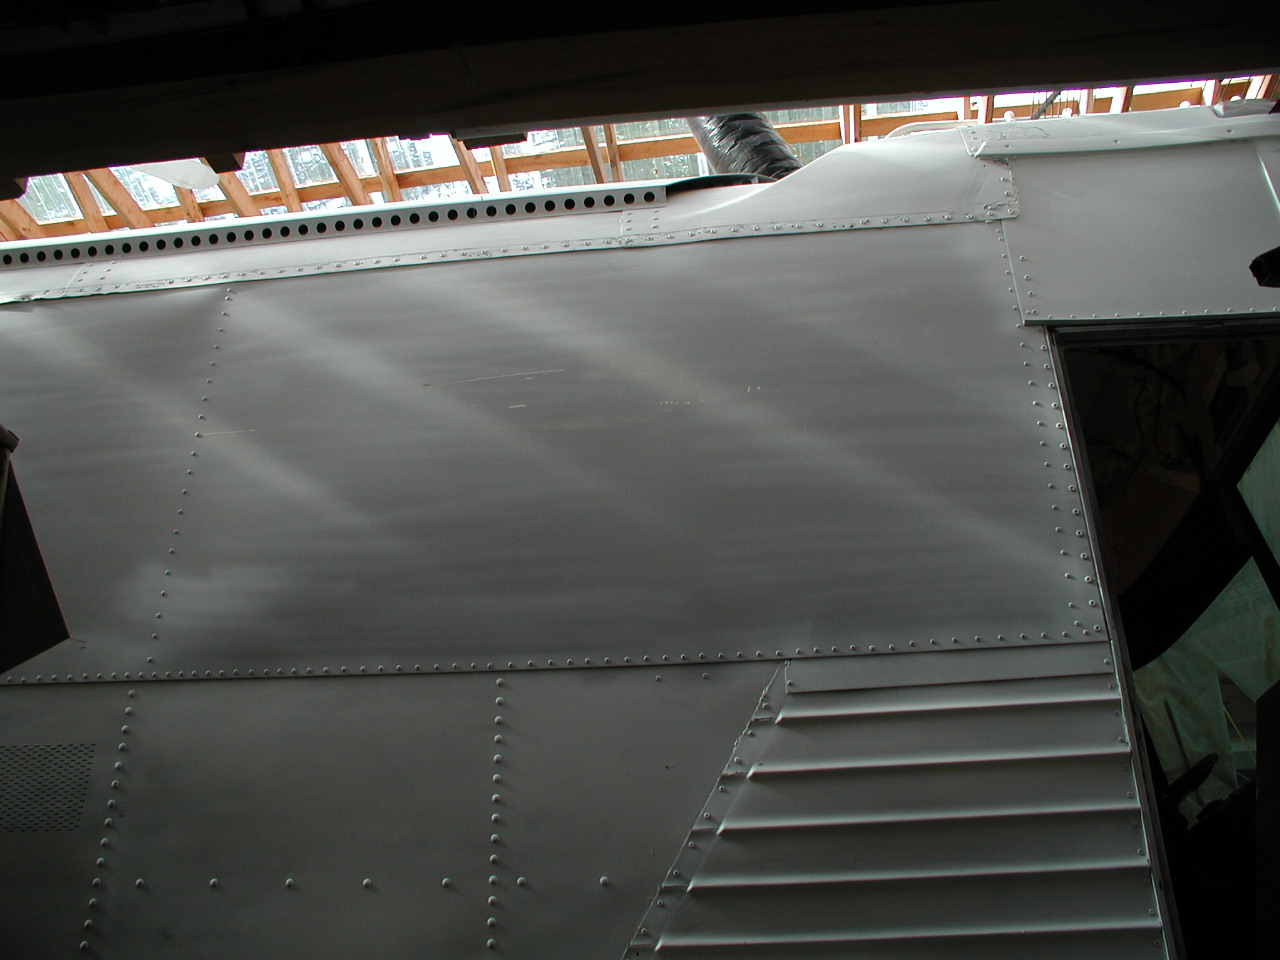
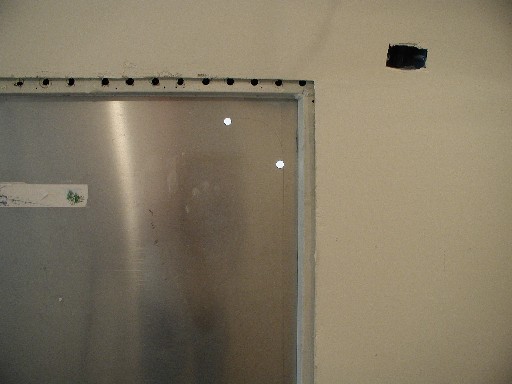
I am tracing the frame using
a pencil to mark where the opening will be. NOTE: I ordered the
windows only after I know what I would have for rough openings to insure
that I would not have to start redoing the framework. |
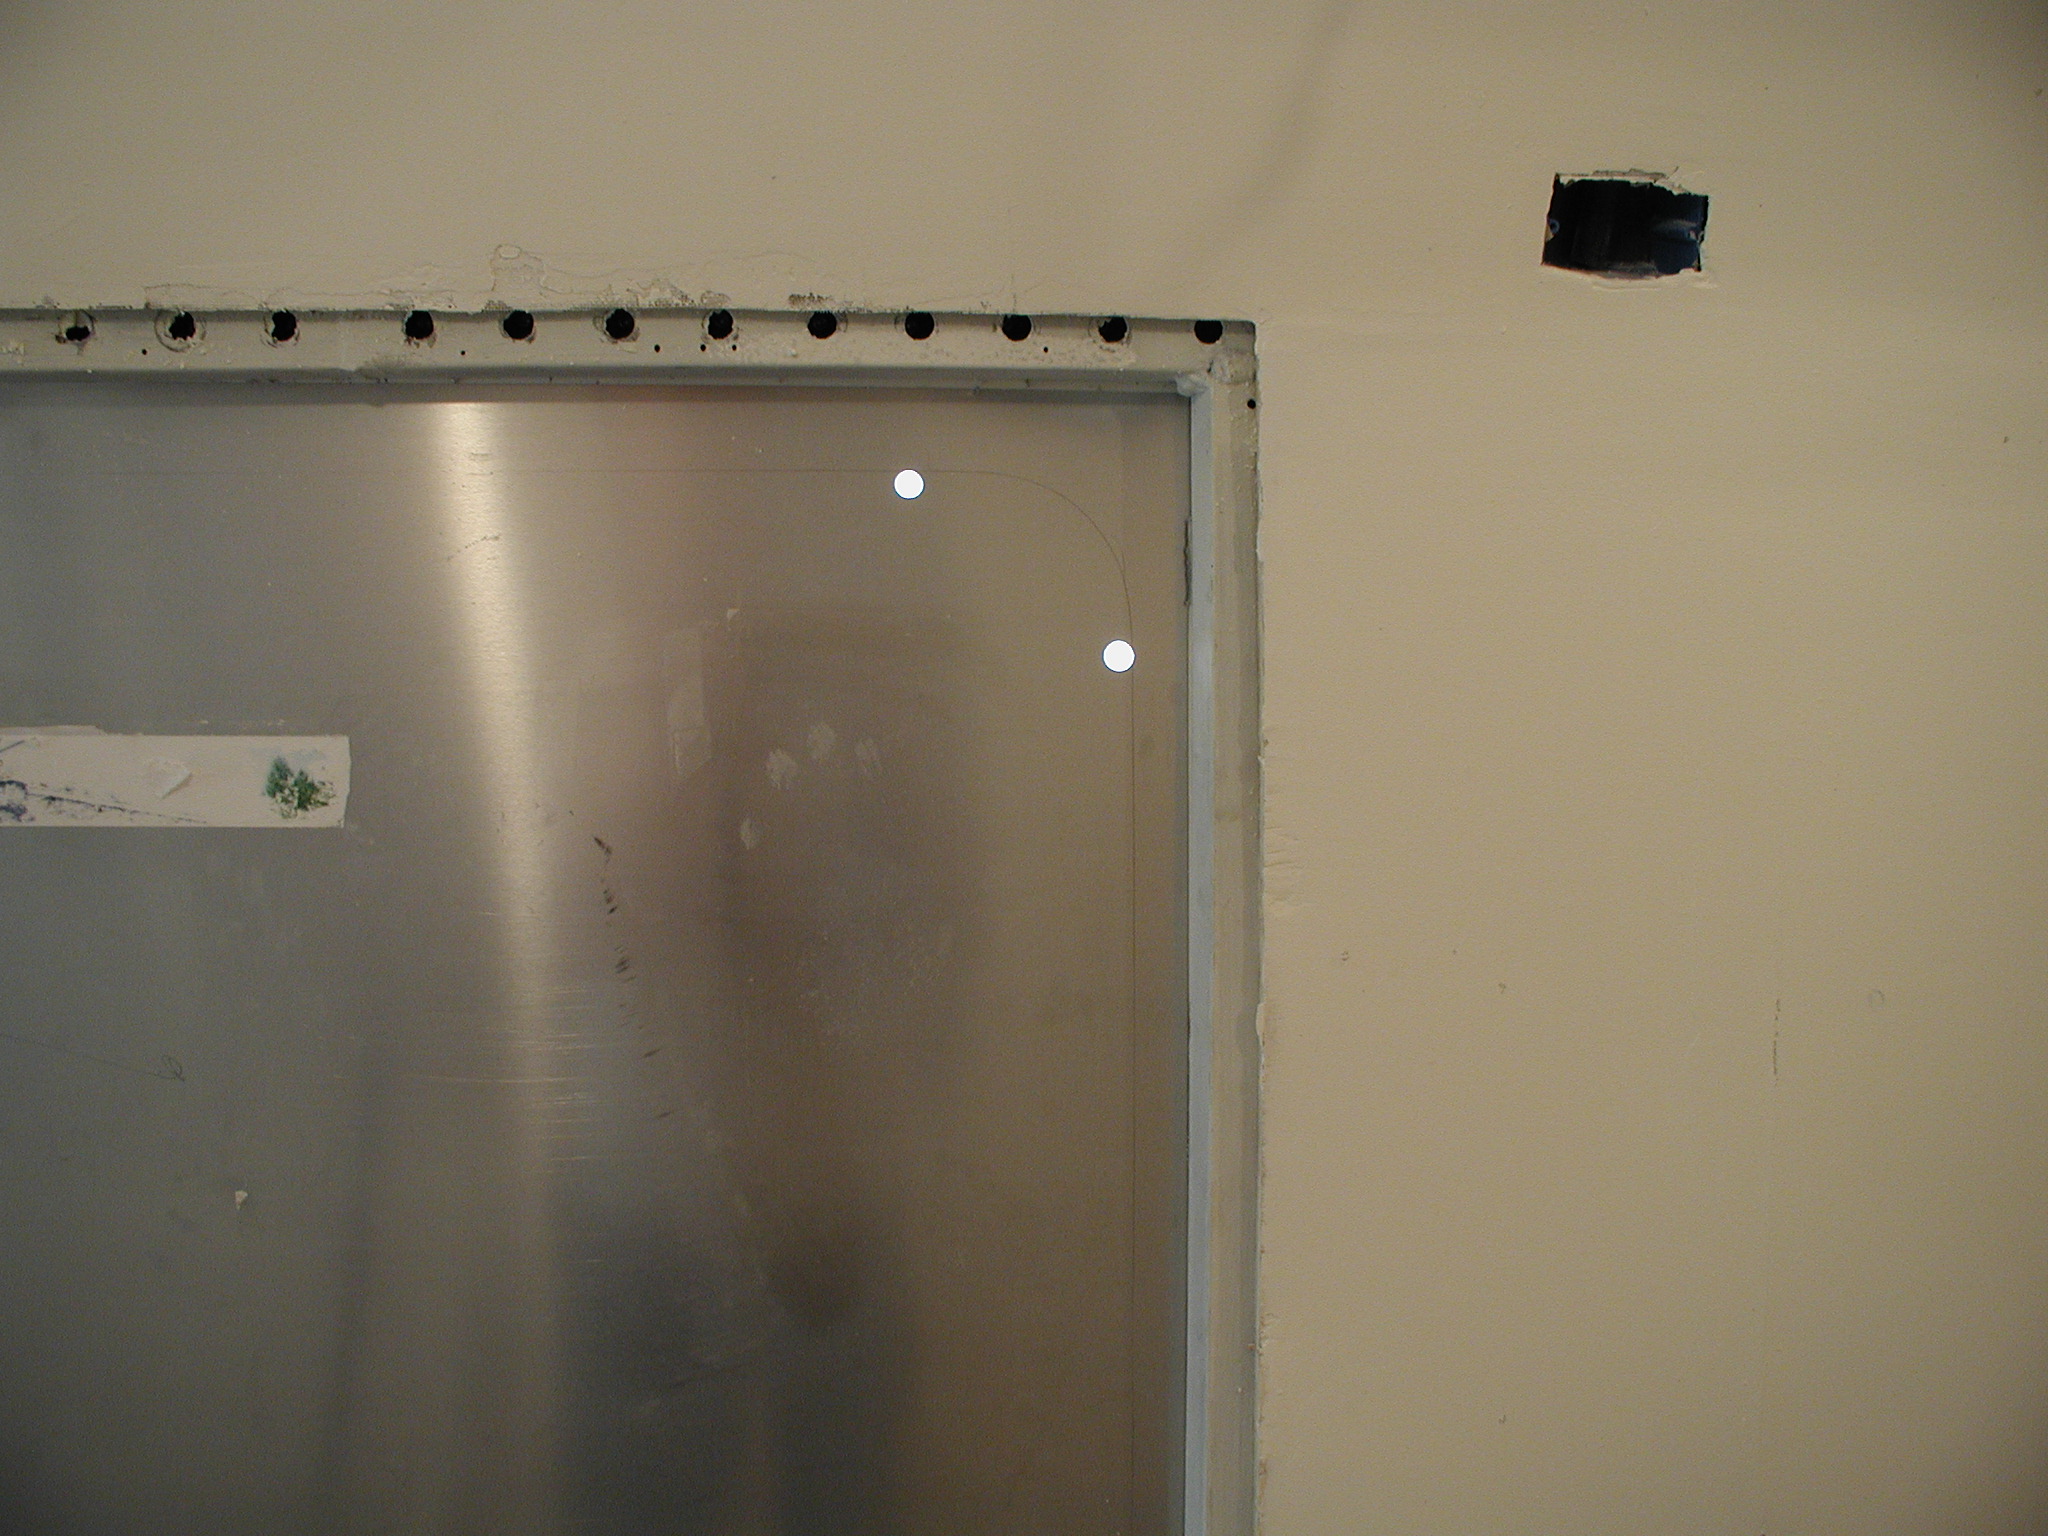
 |
You can see the pencil line where the cut will take
place. I cannot cut the Aluminum from the inside because my Jigsaw
foot is too wide. I had to transfer the line to
the outside. I did that by drilling holes on the inside of the line and then
used a straight edge to mark the line on the outside of the bus. I
built a jig to transfer the radius corner pencil line to the outside. |
 |
Better picture of the line
and holes. |
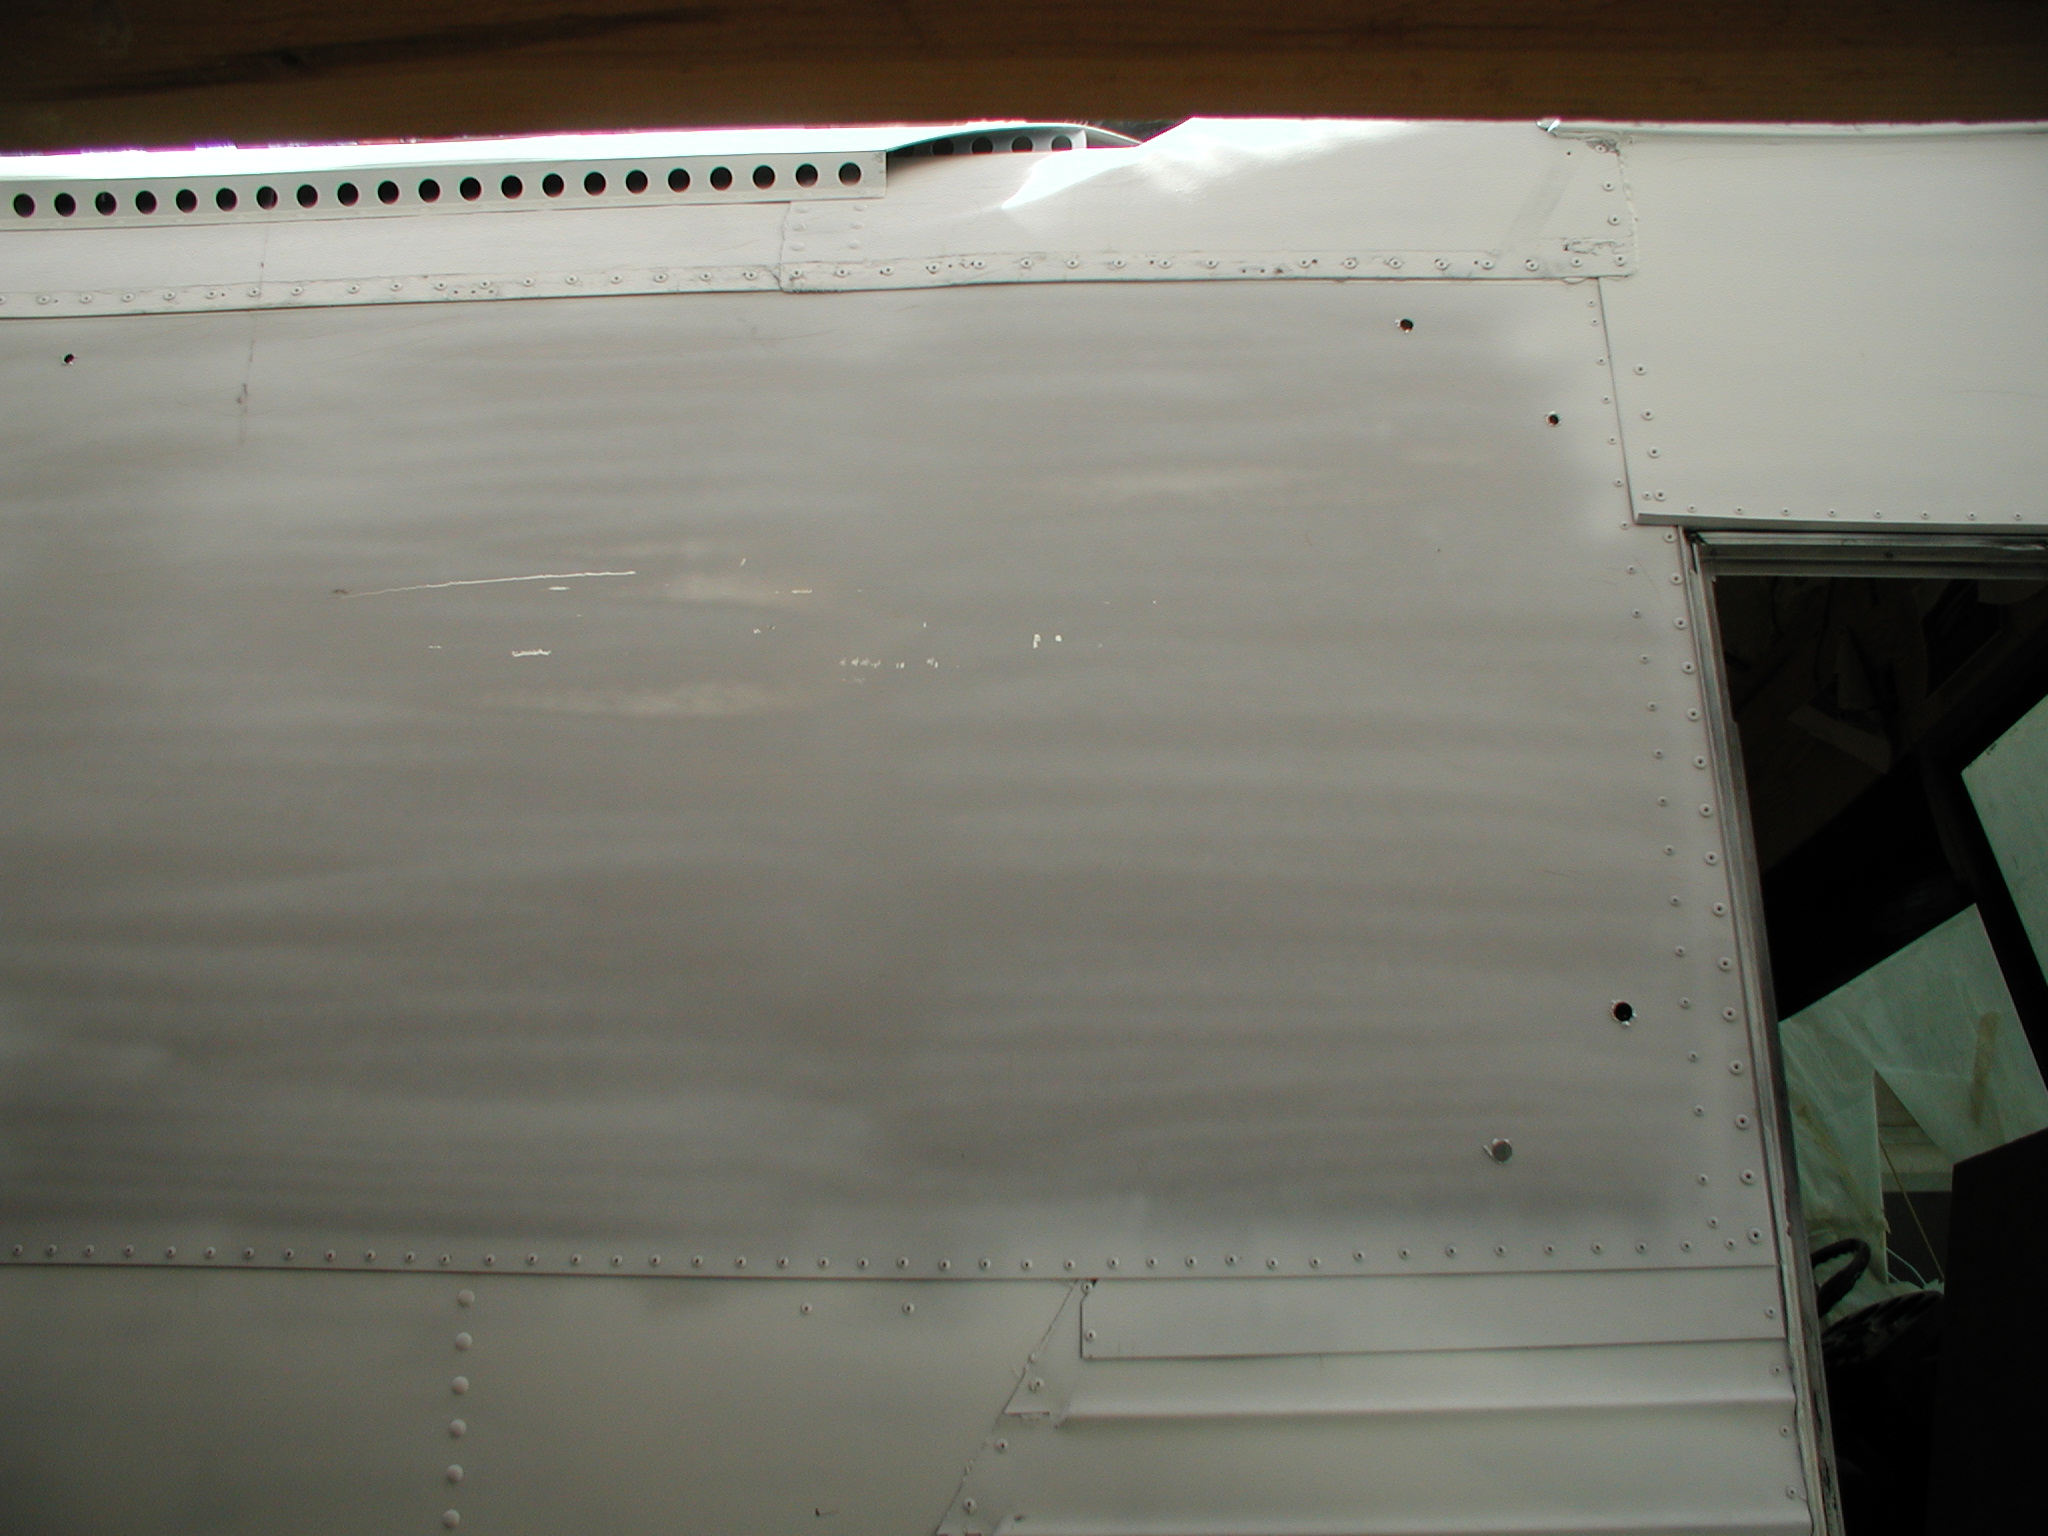
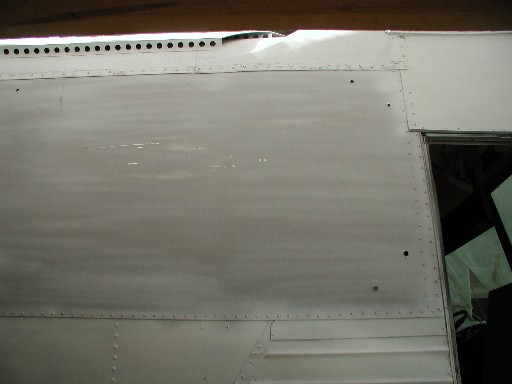 |
I transferred the line to the
outside where I can use my Jigsaw for cutting. |
 |
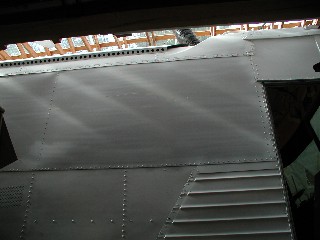
Opening is now cut. |
 |
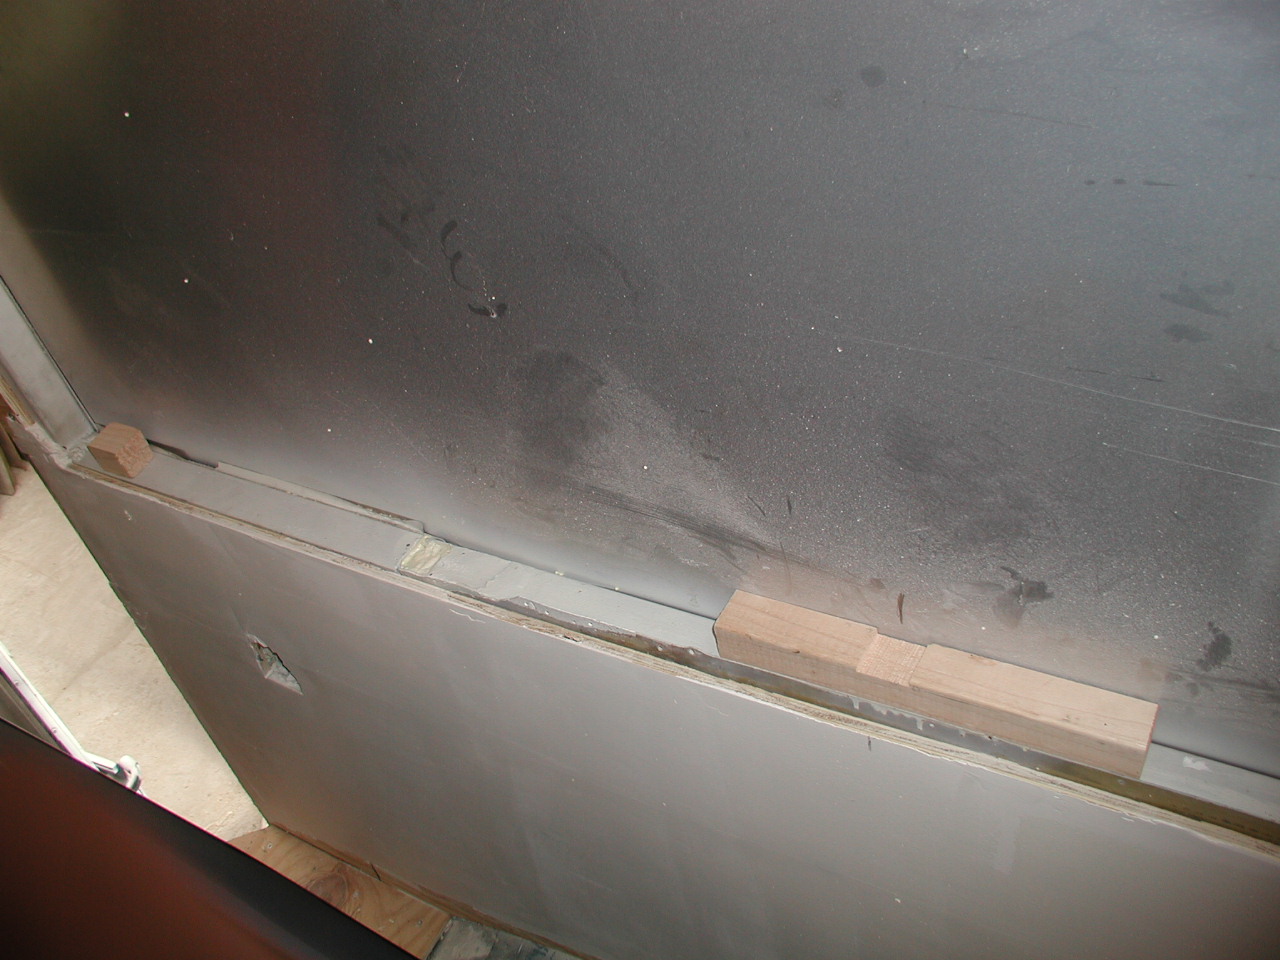
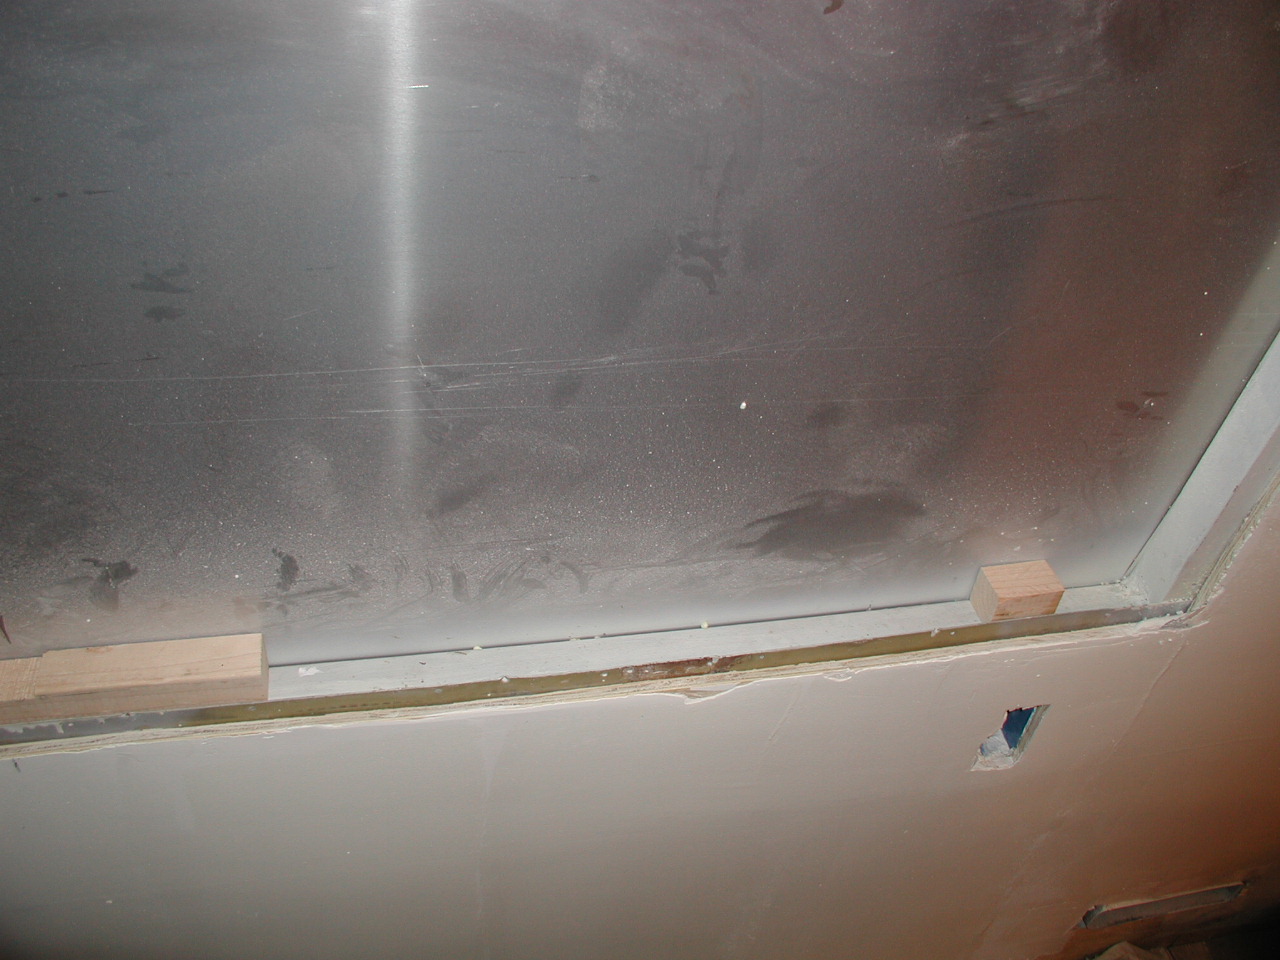
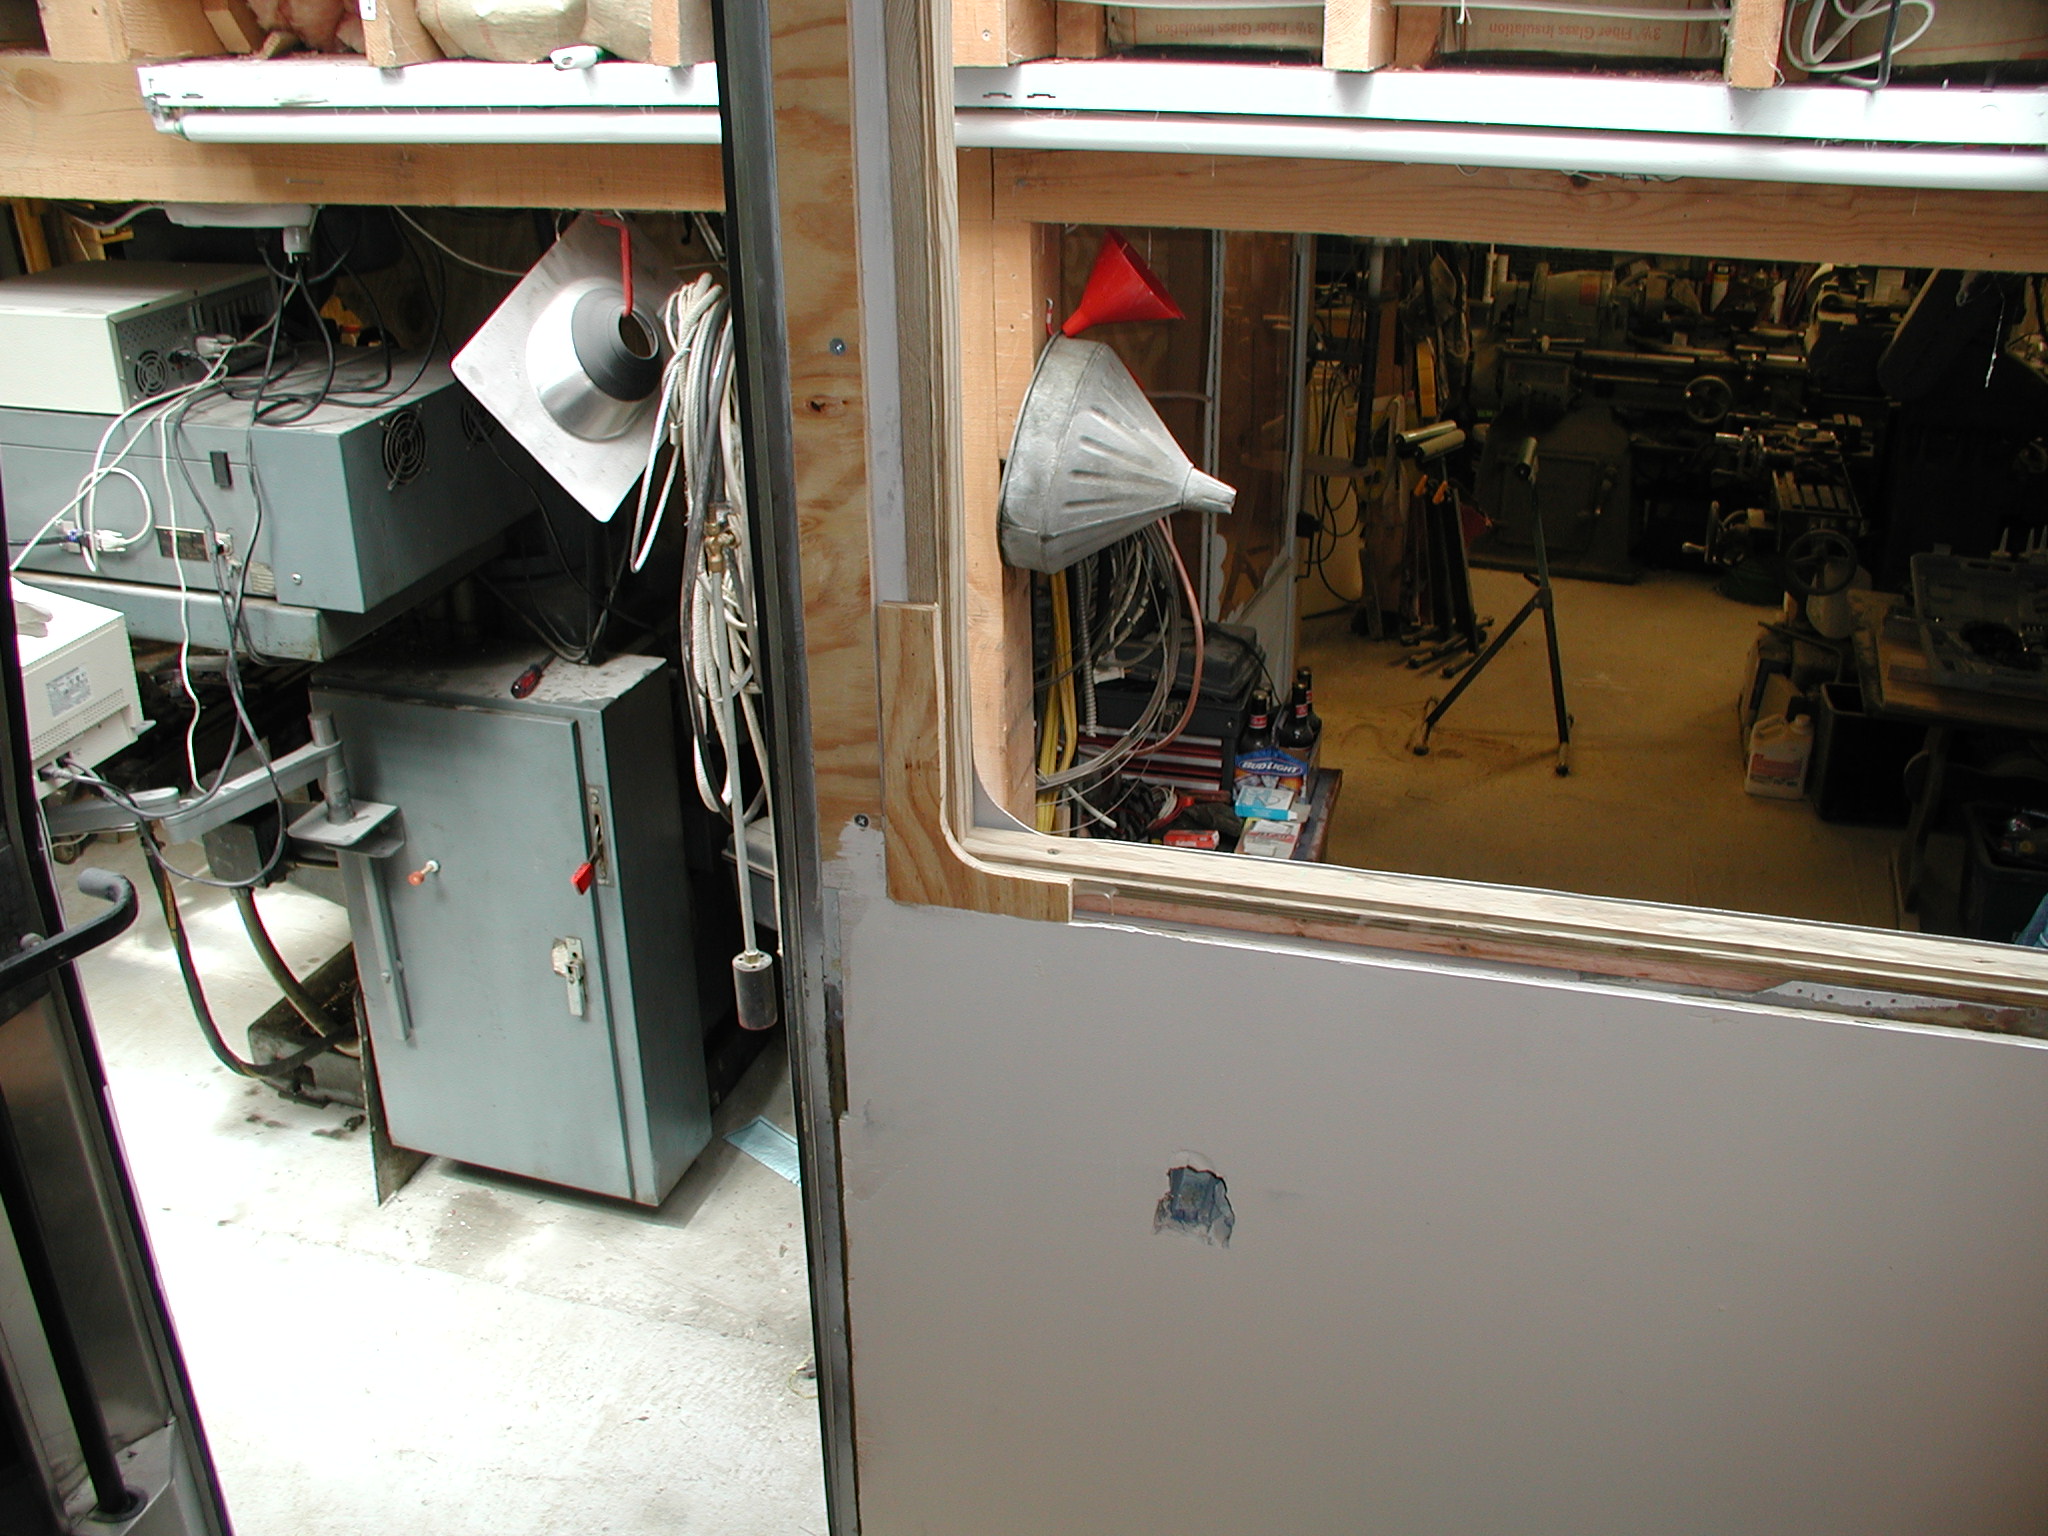
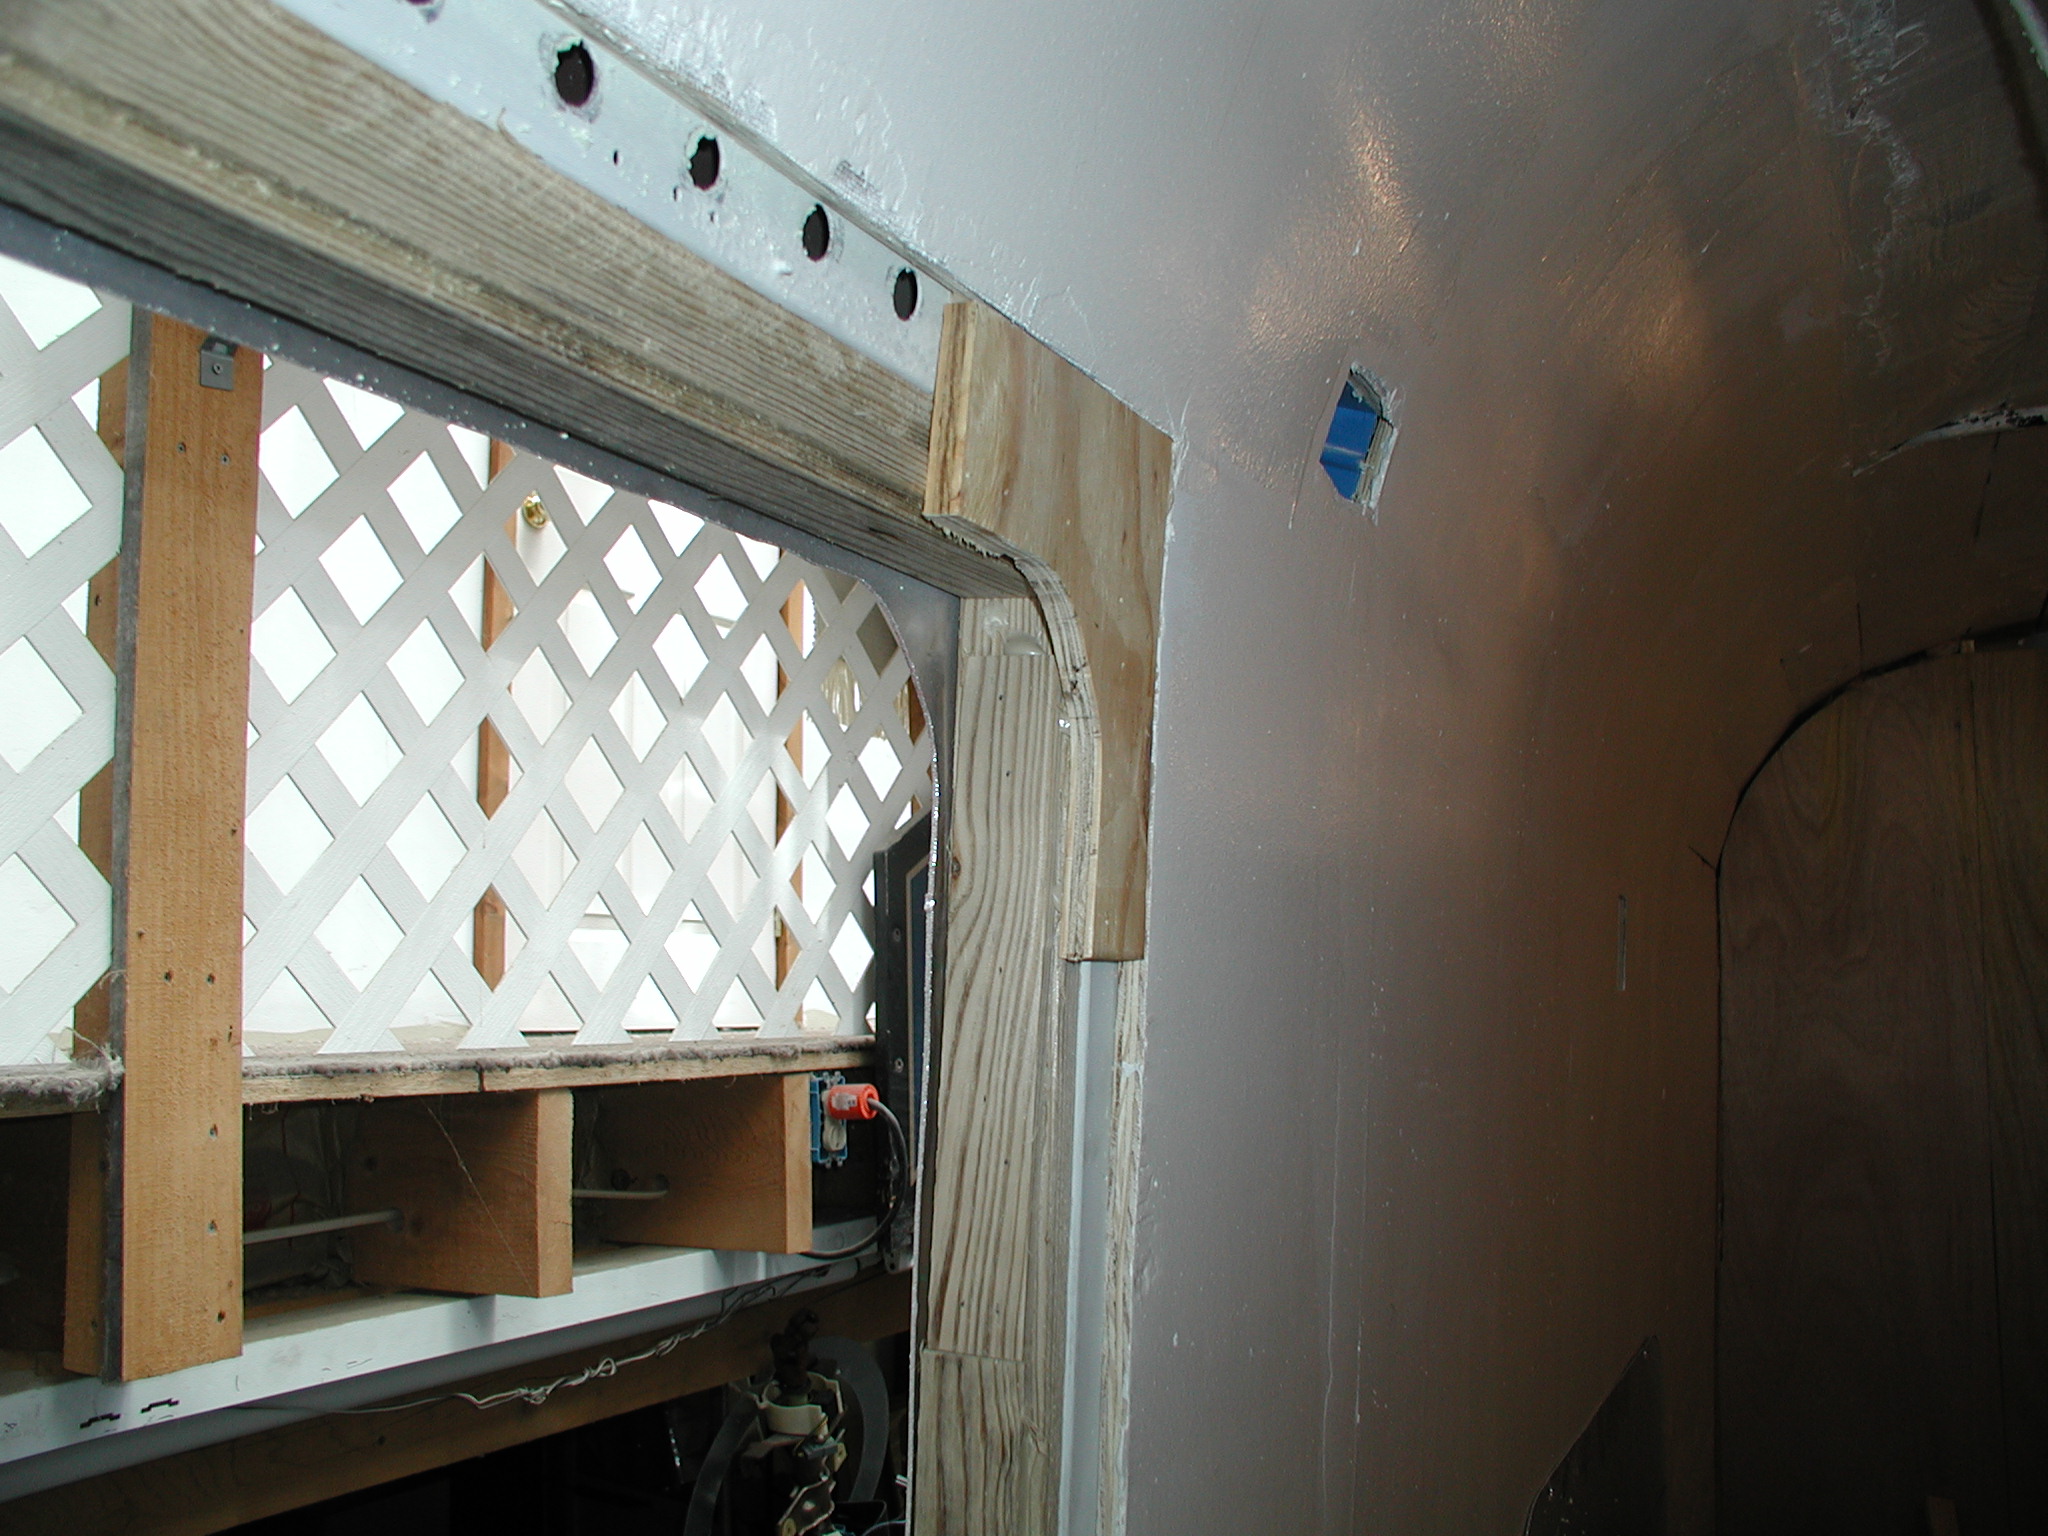
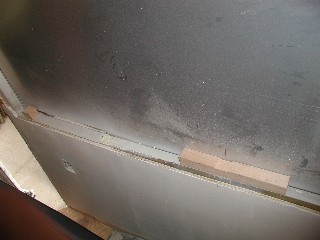
I filled the space between
the steel framework and the edge of the cut opening with Pressure Treated
2x4 cut to size. This will in part support the window and being glued in and
screwed also will help hold the Aluminum intact and solid. |
 |
Here is another view of the
Pressure Treated filler with a 1/2 inch plywood corner block fitted into the
corner. It matches the opening of the outside cut in the Aluminum.
This plywood filler will be where the inside window frame will contact to
hold the window in place. |
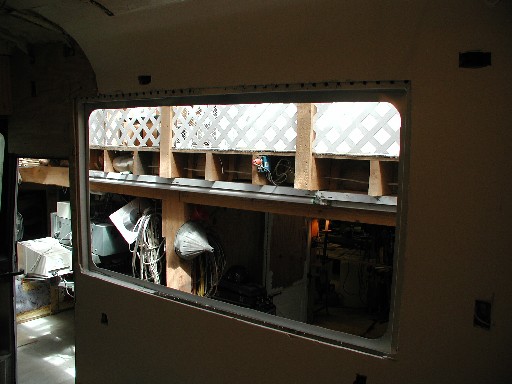
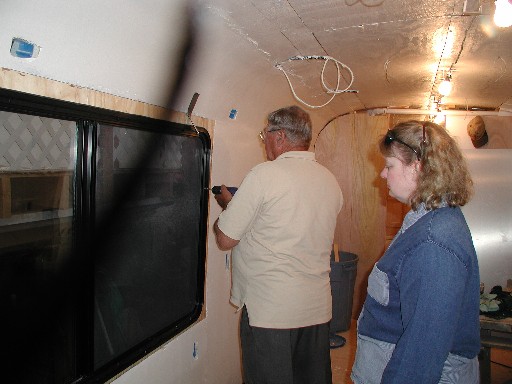 |
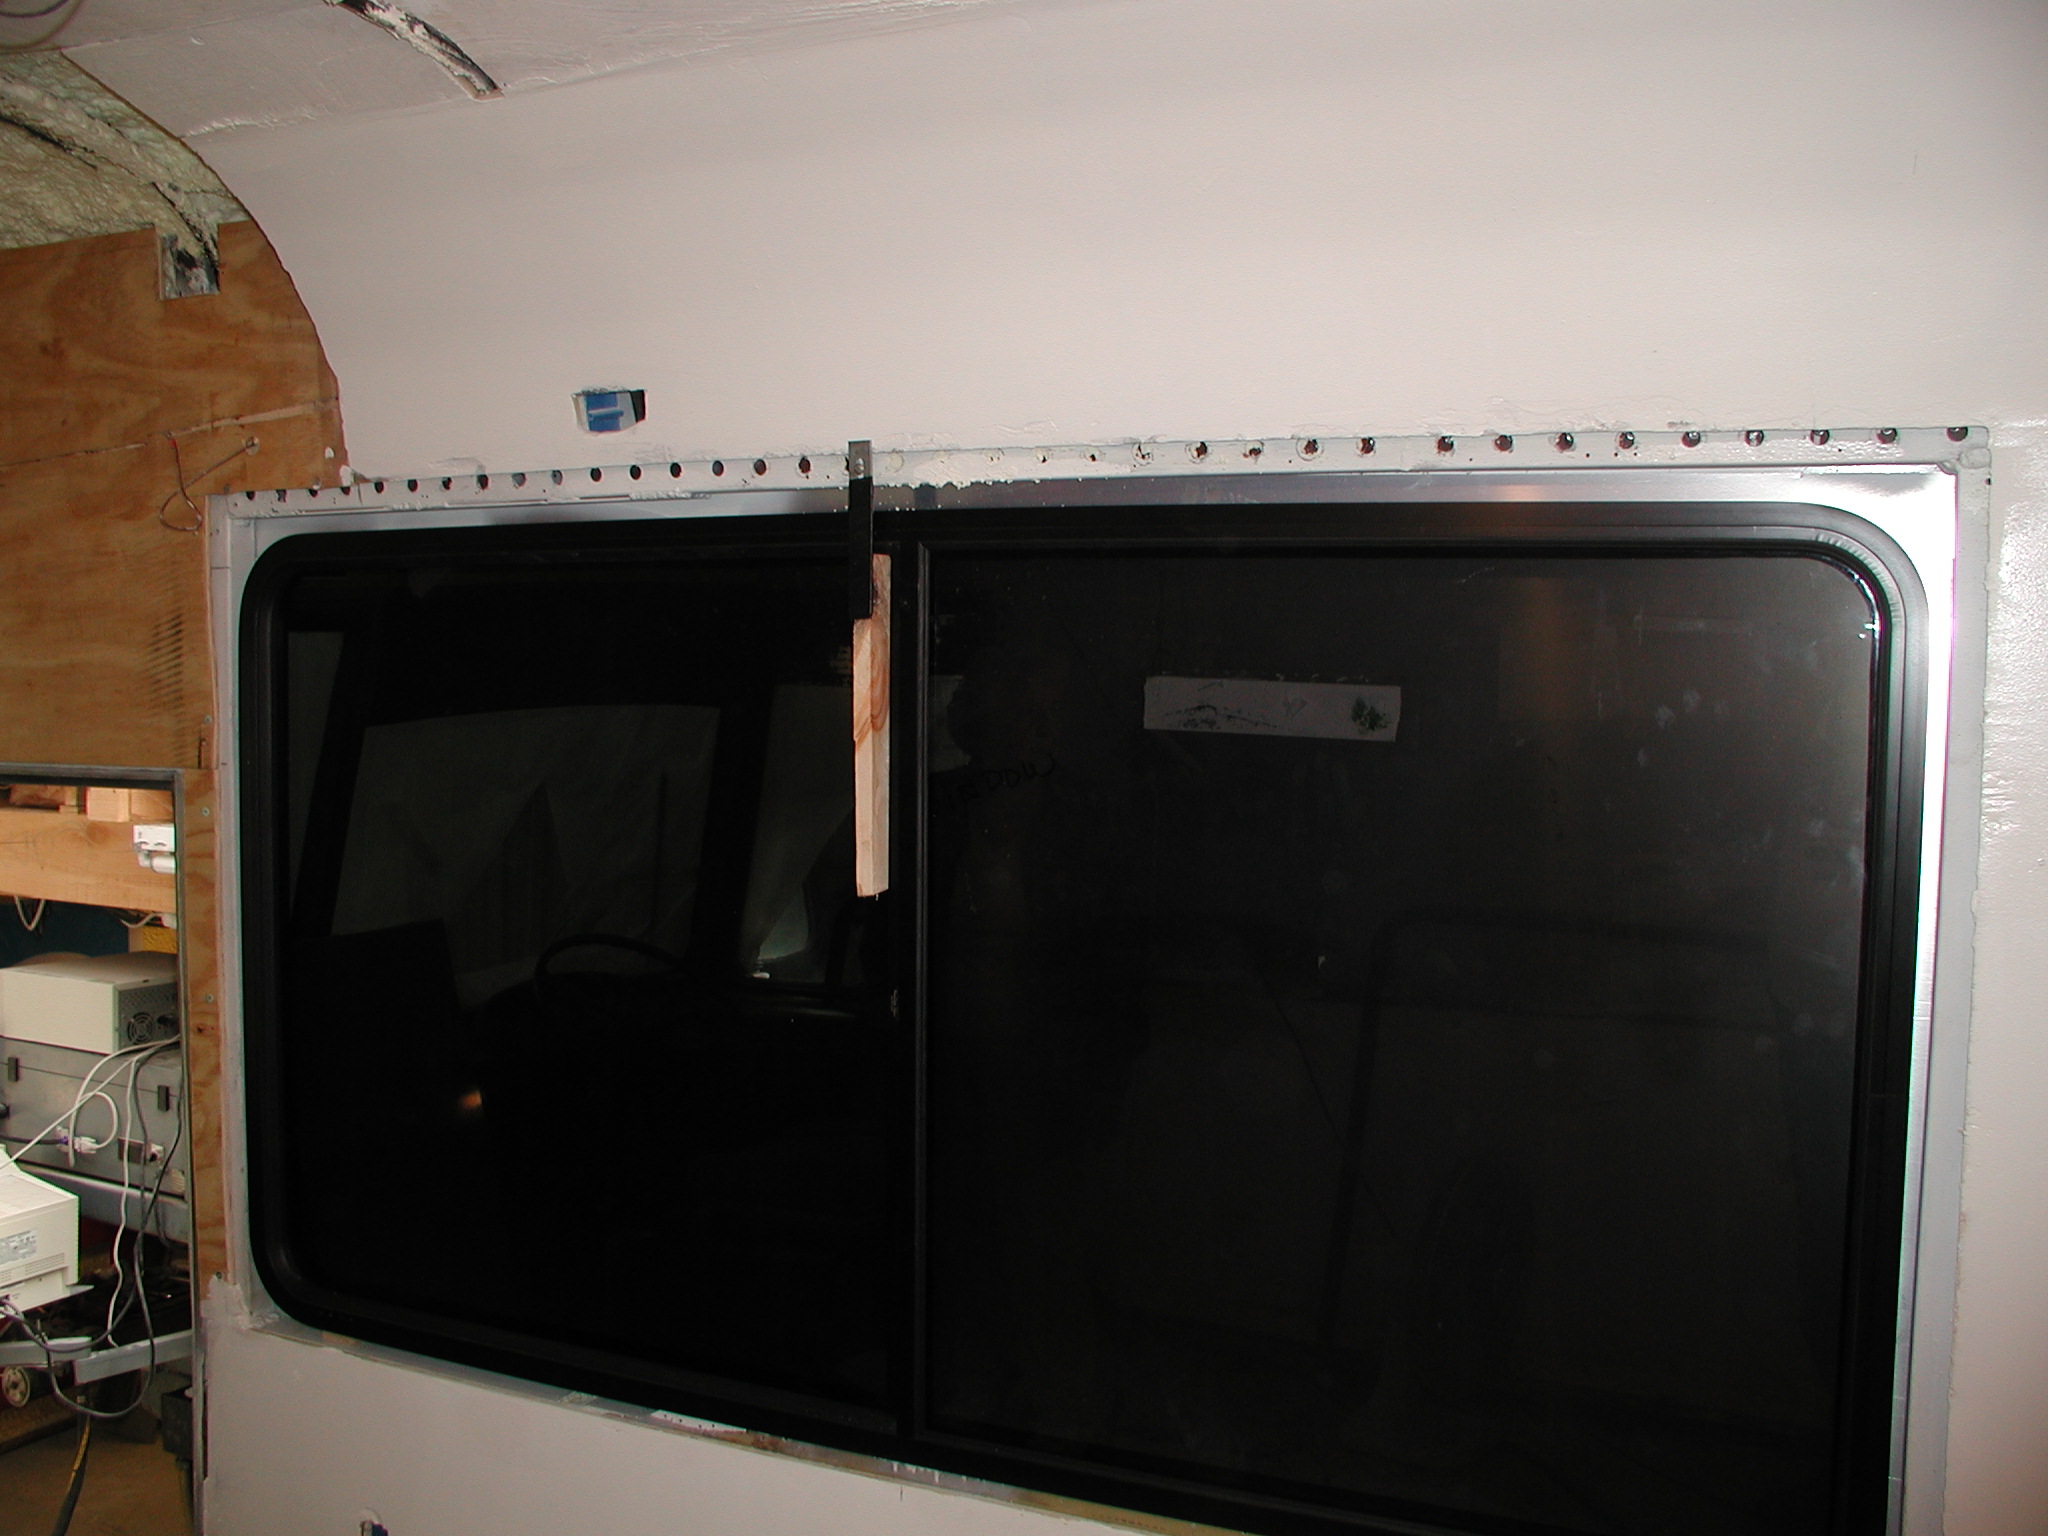
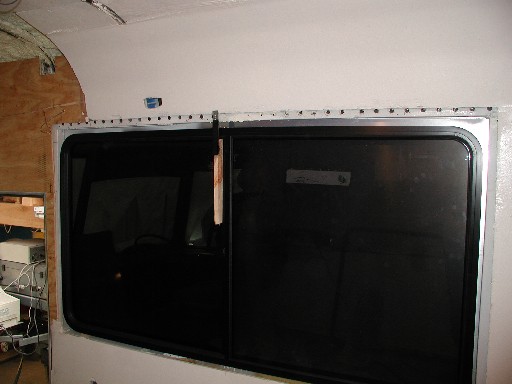
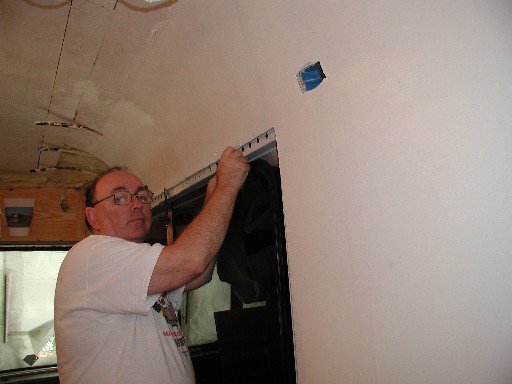
You can see where the plywood
has filled in all around the window and here Lou (Kathy's Dad) is filling in
the screws that hold the inner frame to the outer window frame. The Windows
frame actually causes a sandwich of the Wall all around the window. |
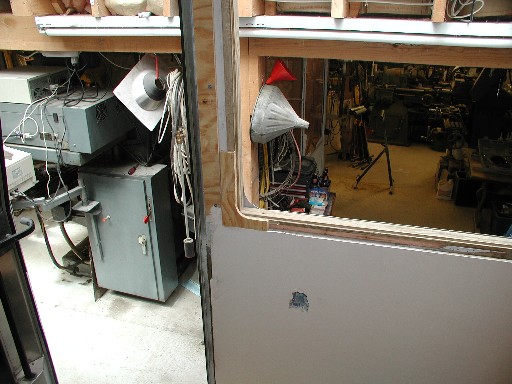
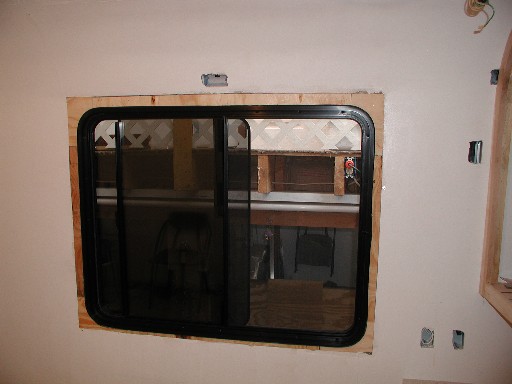 |
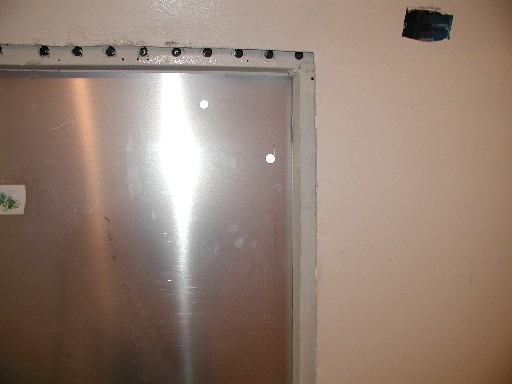
Finished installation.
Tape and drywall is next to finish the wall up to the window. |